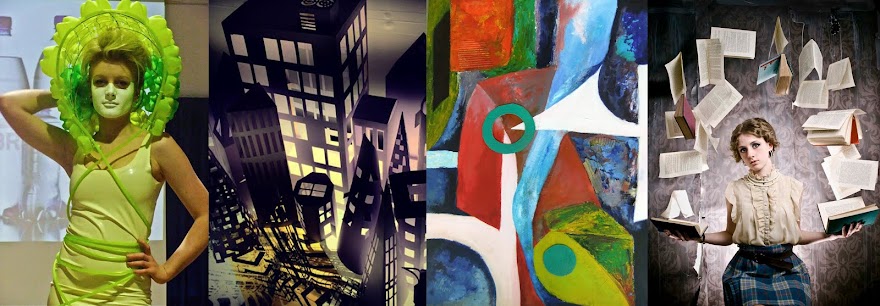
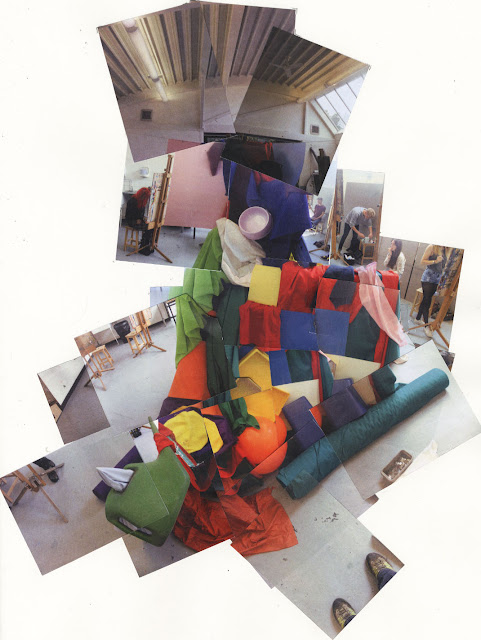
PHOTOGRAPHIC JOINERS
YOU WILL NEED THESE READY FOR
YOU WILL NEED THESE READY FOR
FOR GEORGINA'S LESSON WEDNESDAY 18TH SEPTEMBER
I hope you have remembered to bring cameraphones/download/charging cables/sketchbooks Pritt stick (or money for this £1) in with you,
I hope you have remembered to bring cameraphones/download/charging cables/sketchbooks Pritt stick (or money for this £1) in with you,
You may need to top up on printing credit ( new students all start with £5 credit on your card you can bring money to put some on your student card and take it to the student HUB, soon it will be done by Wisepay).
After you have taken your photographs, this is the procedure to print.
Type in google
Go the right hand corner sign in
Put college email in with password
Use your lead or email them to yourself
Name a folder Hockney photos collage
Drag your photos into folder
Right click on folder
Download
Show in Folder
It will be a zip file
Open zip file
Extract
Extract all
Extract
Double click on folder
Click on all to select
Print
Options
Printer properties
Colour
Wallet size
A4 paper
FOLLOW ME PRINTER IN CAPS
Print
A few tips for when you do your photo joiners:
- It helps to take your photos all from approximately the same position. Move the camera to capture different sections, rather than wandering around - otherwise you may end up with a set of very disjointed images.
- Whilst you are going for a fragmented look if you vary the zoom or viewpoint too much the whole thing quickly becomes incoherent.
- You will be surprised at how many photos you need to make an effective joiner, as there is inevitably some that aren't useful - I'd suggest a minimum of 30 shots.
- I found when working at A3 scale (for final joiner collages) that selecting the "Wallet Prints" option from the printer wizard was the most effective - this gives you 9 images on an A4 printed page.
- Produce at least 2 of your own joiners in response to David Hockney's work.
After you have taken your photographs, this is the procedure to print.
Type in google
Go the right hand corner sign in
Put college email in with password
Use your lead or email them to yourself
Name a folder Hockney photos collage
Drag your photos into folder
Right click on folder
Download
Show in Folder
It will be a zip file
Open zip file
Extract
Extract all
Extract
Double click on folder
Click on all to select
Options
Printer properties
Colour
Wallet size
A4 paper
FOLLOW ME PRINTER IN CAPS
No comments:
Post a Comment