TRASHION GROUP PRESENTATION
THEME ONE (one or two slides)
Introductory slide/s which shows what the group object is, which garments/fashion items are to be made and who the members of the group are. This should contain your own photography and drawing of the object and photos of the group members.
 |
| SLIDE 1 Example You will need to compile something similar in your groups. |
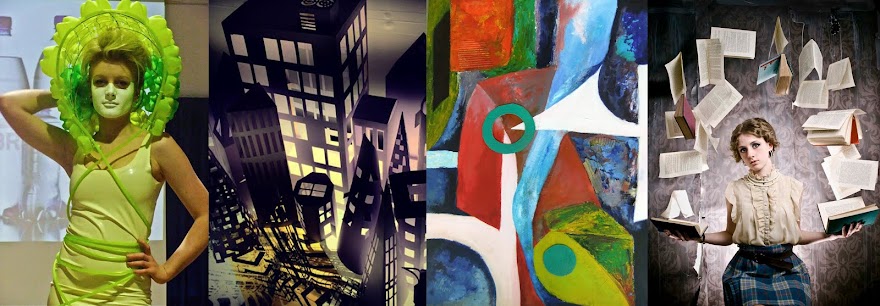
THEME TWO (one or more slides)
These slide/s should give a flavour of all initial information and findings about the object in question including its history/invention. Images about how it is standardly used and alternative uses (see if it has already been used in fashion). Also research some information about its general recyclability – i.e. plastic bottles are now widely used in the production of fleece material.
 |
| SLIDE 2 Example |
THEME THREE (one or more slides)
Demonstrate and record ways in which you can manipulate/join/alter your object that might be helpful in garment construction.
Explore processes like cutting, burning, laser cutting, heat pressing, appliqué, tearing, crushing, layering, stitching, riveting and photographing the object with a view to making a screen print.
Use a mixture of photographs of your processes, annotation and actual samples of your manipulated object to create your slides.
THEME FOUR (one or more slides)
A consideration of common element(s) which will bring all your garments/accessories together as a collection, this should include some early design idea sketches. You should also include some examples of what a fashion collection is, look for inventive Haute Couture and ideally find Designers who have used recycled materials (e.g. Martin Margiela, Jez Eaton, Gareth Pugh).
Further Tips
Over the first couple of days of the project you need to research both your object and your garment - collect and print enough material for compiling your A1 moodboards. Photos of what you collect for this will form the slides for the first 2 Themes in your PowerPoint/Prezi.
KEEP THIS STUFF LOOSE, DON'T STICK IT DOWN:
KEEP THIS STUFF LOOSE, DON'T STICK IT DOWN:
- Lots of visual research into the garment you drew from the "Hat", different versions/styles/shapes try to find inventive Haute Couture versions. Find 12 - 20 examples, print these images in a variety of sizes up to A4.
- Plentiful visual research into the object you drew from the "Hat" - different versions, different uses, unusual applications of your object, if you can find examples of it in Fashion then include these. Again 12 - 20 examples in a range of sizes.
- Other stuff you need includes: headings and titles (use interesting fonts), dictionary definitions of your object and garment, photos of yourselves, as well as your own good drawings and photographs of your object.
For sourcing imagery try using http://www.pinterest.com/ (open a free account if you don't already have one). Thoughtfully selected search terms in Pinterest will lead you to a host of rich imagery and ideas.
After completing the research slides you need to concentrate on Themes 3 & 4. These are a little more demanding as they focus on experimentation and initial design ideas.
You have the option of preparing your presentation slides either digitally or through manual layouts that you record photographically and then convert into a digital format. If you are making manual Mood boards here are a few steps you can take to make sure that they look good as presentation slides.
The first of those are in taking the photographs - make sure they are well lit and that you position your camera above the centre of the image to avoid getting a taper distortion, take several photos to ensure you get images with a good sharp focus.
Once you have got decent photographs it is usually possible to enhance them in PhotoShop before you transfer them into your presentation. Here is a raw photographic image followed by an edit of the same photo.


After completing the research slides you need to concentrate on Themes 3 & 4. These are a little more demanding as they focus on experimentation and initial design ideas.
- For Theme 3 you will need to be imaginative in how you manipulate your object and record your experiments photographically. Explore processes like cutting, burning, laser cutting, heat pressing, appliqué, tearing, crushing, layering, stitching, riveting and photographing the object with a view to making a screen print.
- For Theme 4 you will need to consult with all members of your Design team across the two groups to come up with some common themes for your collection (e.g. colours/particular ways of manipulating your object), after consultation you need to come up with some initial design ideas.
- For Theme 4 you will also need to find several examples of existing Collections and print 6 -10 images images of these . Most designers/design houses release themed collections seasonally, look for examples of collections that are inventive, exuberant and perhaps use elements of recycling - the work of Martin Margiela and Jez Eaton might be valuable starting points.
Photographing Moodboards and preparing Images for Presentation
You have the option of preparing your presentation slides either digitally or through manual layouts that you record photographically and then convert into a digital format. If you are making manual Mood boards here are a few steps you can take to make sure that they look good as presentation slides.
The first of those are in taking the photographs - make sure they are well lit and that you position your camera above the centre of the image to avoid getting a taper distortion, take several photos to ensure you get images with a good sharp focus.
 |
| An example of "taper distortion" |


To achieve this I did the following:
- Rotated the original image.
- Cropped the image to remove unwanted areas.
- Adjusted brightness and contrast to give the image more on-screen "zip".
- Used the "sharpen more" filter to add crispness to the image.
- Created a new layer, made a rectangular selection and filled this with a pale blue colour, then applied the multiply Layer style to this blue box.
- Using the text tool added notes (in a font downloaded from www.dafont.com). I then used the move tool to place the text over the blue area.
- Finally from the Layer Menu I added a drop shadow to my text from the Layer Style options.
Having done all this I then saved the final image as a jpeg (option available from the dropdown menu when you save in Photoshop). Using jpegs as presentation slides works fine, if you upload .psd PhotoShop documents or high resolution digital photos you may find they slow your presentation down and stop it functioning properly.
After you have arranged and photographed your moodboards share the loose imagery out between you and collage this into sketchbooks, giving due consideration to layout and combining text and image effectively.
We will be giving Presentations at the end of next week (Thursday 22nd November)
No comments:
Post a Comment